A short guide on BrLP
BrLP (paper, code) is a diffusion-based spatiotemporal disease progression model capable of predicting how a 3D brain MRI will appear at a future target age, given one or more prior MRIs from a subject. In this guide, I will explain how to apply BrLP to your own MRI data using the open-source CLI application.

Installing the BrLP CLI
Start by cloning the GitHub repository for BrLP:
git clone git@github.com:LemuelPuglisi/BrLP.git
Next, navigate to the BrLP directory and install the brlp Python package using pip:
pip install -e .
This command will also install all required dependencies. Once completed, verify the installation by running:
brlp --help
If you encounter any issues, feel free to open an issue on GitHub.
At the end of this step, our file structure will be the following:
.
└── BrLP/
    └── ...
Downloading the models
Begin by creating a directory to store the pretrained models:
mkdir models
Next, download all the models listed in the Pretrained Models section. Make sure to unzip the auxiliary model archive (aux-dcm.zip) and place its contents into the models directory.
At the end of this step, our file structure will be the following:
.
└── BrLP/
└── models/
    ├── autoencoder.pth
    ├── latentdiffusion.pth
    ├── controlnet.pth
    └── dcm-aux/
        ├── dcm_ad.json
        ├── dcm_mci.json
        └── dcm_nc.json
Creating the BrLP configuration file
Copy the example configuration file to the root directory:
cp BrLP/examples/confs.example.yaml confs.yaml
Open confs.yaml in a text editor and update the following fields: autoencoder, unet (refers to diffusionmodel.pth), controlnet, aux (cn, mci, ad). Specify the locations of the downloaded models using absolute paths!
At the end of this step, our file structure will be the following:
.
├── BrLP/
├── models/
│   ├── autoencoder.pth
│   ├── latentdiffusion.pth
│   ├── controlnet.pth
│   └── dcm-aux/
│       ├── dcm_ad.json
│       ├── dcm_mci.json
│       └── dcm_nc.json
└── confs.yaml
Preparing your own data
To apply BrLP to your own T1-weighted (T1w) MRI stored as a NIfTI file, let’s assume the file is named t1.nii.gz. For reference, the image below shows a T1w MRI from the IXI dataset:
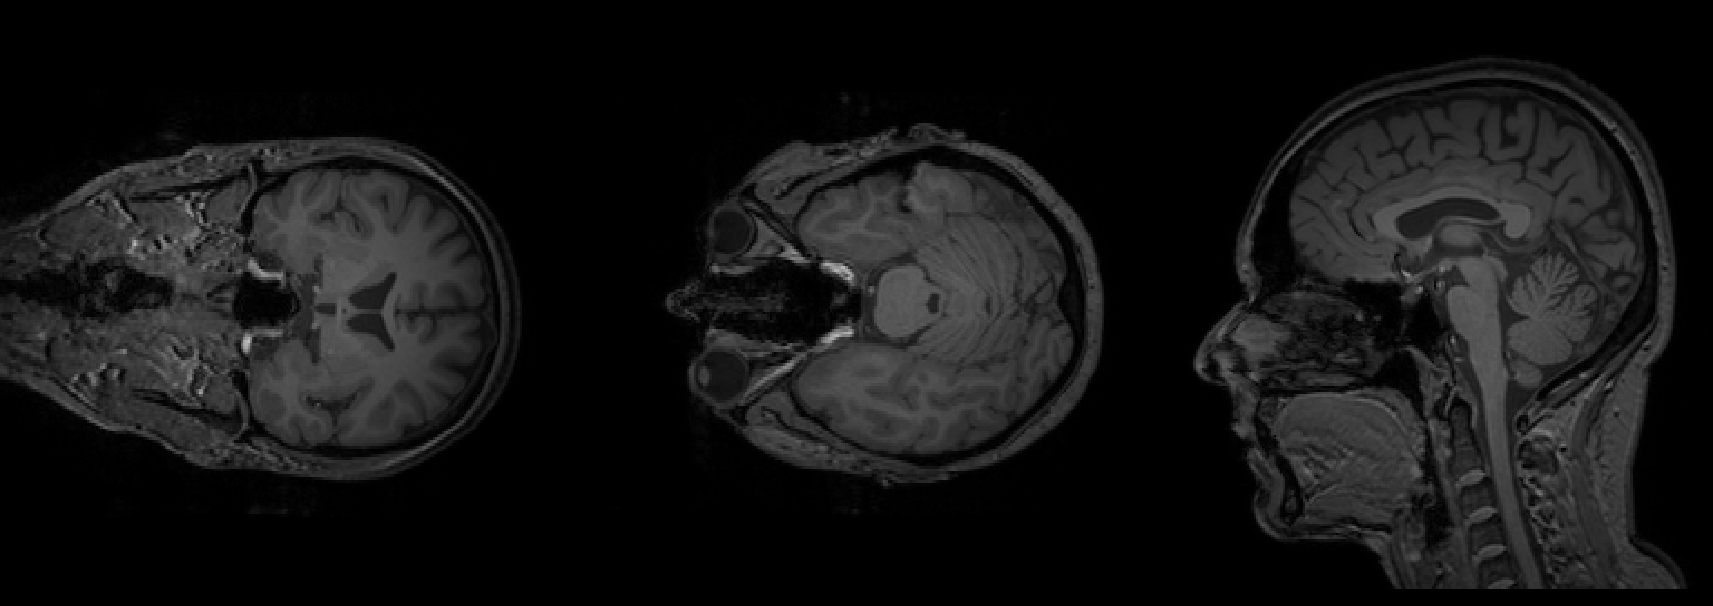
Since BrLP operates in the MNI152 space, you will need the MNI152 template. Download it from this link. Rename the downloaded template to mni152.nii.gz for simplicity.

Place both t1.nii.gz and mni152.nii.gz in the root directory of your workspace. After completing this step, your file structure should look like this:
.
├── BrLP/
├── models/
├── confs.yaml
├── t1.nii.gz
└── mni152.nii.gz
Preprocessing the MRI
All the MRIs used for the BrLP study have been preprocessed using the turboprep pipeline (github), which is available via Docker. Start by installing Docker. Then download the turboprep-docker script:
wget https://raw.githubusercontent.com/LemuelPuglisi/turboprep/refs/heads/main/turboprep-docker
Make it executable:
chmod a+x turboprep-docker
Create a folder where to store the outputs:
mkdir outputs
Finally run the script:
./turboprep-docker t1.nii.gz outputs mni152.nii.gz
At the end of this step, our file structure will be the following:
.
├── BrLP/
├── models/
├── outputs/
│   ├── affine_transf.mat
│   ├── mask.nii.gz
│   ├── normalized.nii.gz
│   └── segm.nii.gz
├── turboprep-docker
├── confs.yaml
├── t1.nii.gz
└── mni152.nii.gz
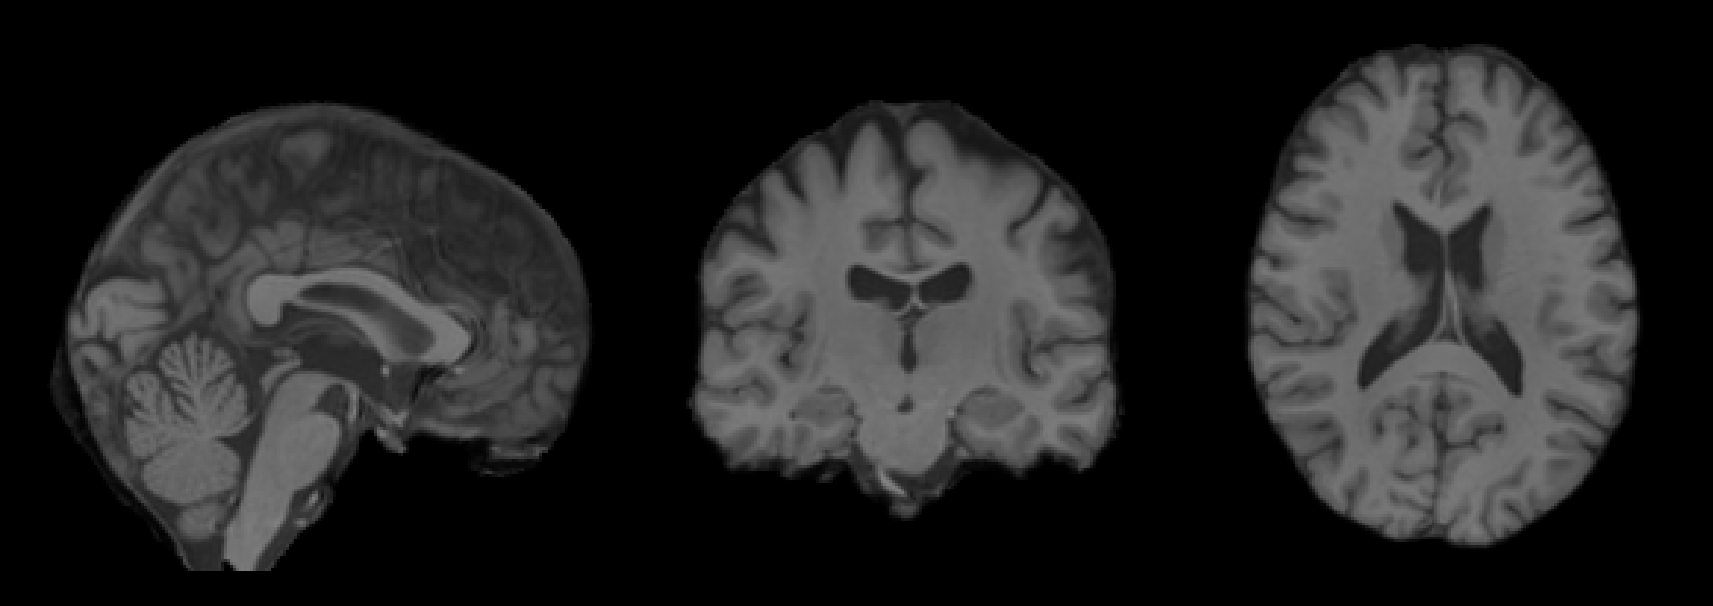
We are interested in two files: (1) normalized.nii.gz is the aligned, skull-stripped and intensity-normalized input image:
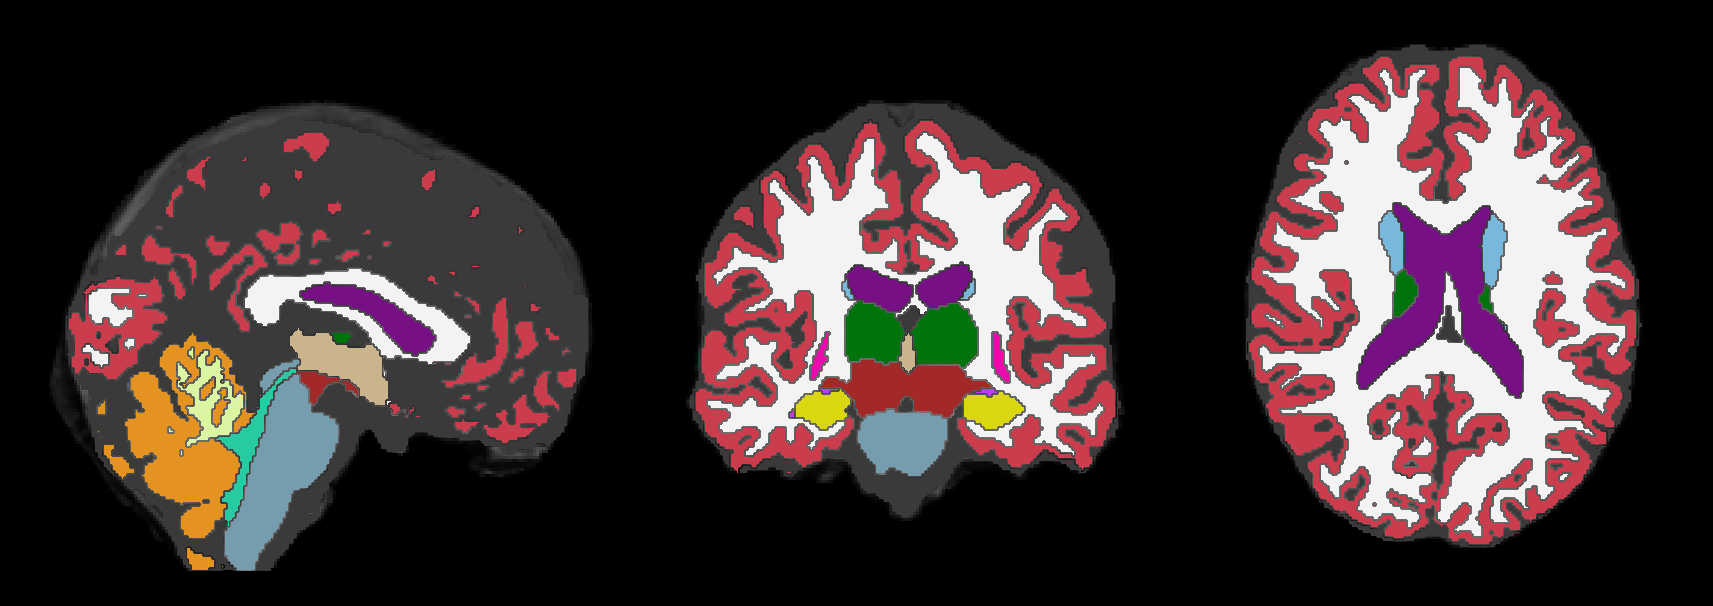
and (2) its segmentation (obtained using SynthSeg):
Creating the Input CSV for BrLP
BrLP can utilize multiple MRIs from the same subject, taken at different ages, to improve its predictive performance. All MRIs must be preprocessed as described in the previous section. Additionally, the details of these MRIs—such as the subject’s age at acquisition, the unique image identifier, and the file paths—must be listed in a CSV file called inputs.csv.
The CSV file should have the following five header columns:
-
image_uid(string): A unique identifier for each MRI (this can be arbitrary). -
age(integer): The subject’s age at the time of MRI acquisition. -
sex(integer): Use1for male and2for female. -
image_path(string): The absolute path to the preprocessed MRI image (e.g.,outputs/normalized.nii.gz). -
segm_path(string): The absolute path to the corresponding segmentation file (e.g.,outputs/segm.nii.gz).
Here’s an example of how the inputs.csv file might look for a single MRI:
image_uid,age,sex,image_path,segm_path
image_1,29,1,/absolute/path/to/outputs/normalized.nii.gz,/absolute/path/to/outputs/segm.nii.gz
After creating this file, your workspace structure will be as follows:
.
├── BrLP/
├── models/
├── outputs/
├── turboprep-docker
├── inputs.csv
├── confs.yaml
├── t1.nii.gz
└── mni152.nii.gz
Running BrLP
First, create a directory to store the predictions:
mkdir predictions
In our example, our input MRI is from a 29 years old male subject, and we want to simulate the progression of this subject up to 80 years old, assuming he has Alzheimer’s Disease (AD). To do this, set the following parameters:
-
--target_diagnosis 3(where1= healthy,2= mild cognitive impairment,3= Alzheimer’s Disease) --target_age 80-
--steps 10(to generate intermediate MRIs in 10 steps between age 29 and 80)
Now, you can run the brlp command to generate the predicted MRIs:
brlp    --input inputs.csv \
        --output predictions \
        --confs confs.yaml \
        --target_age 80 \
        --target_diagnosis 3 \
        --steps 10
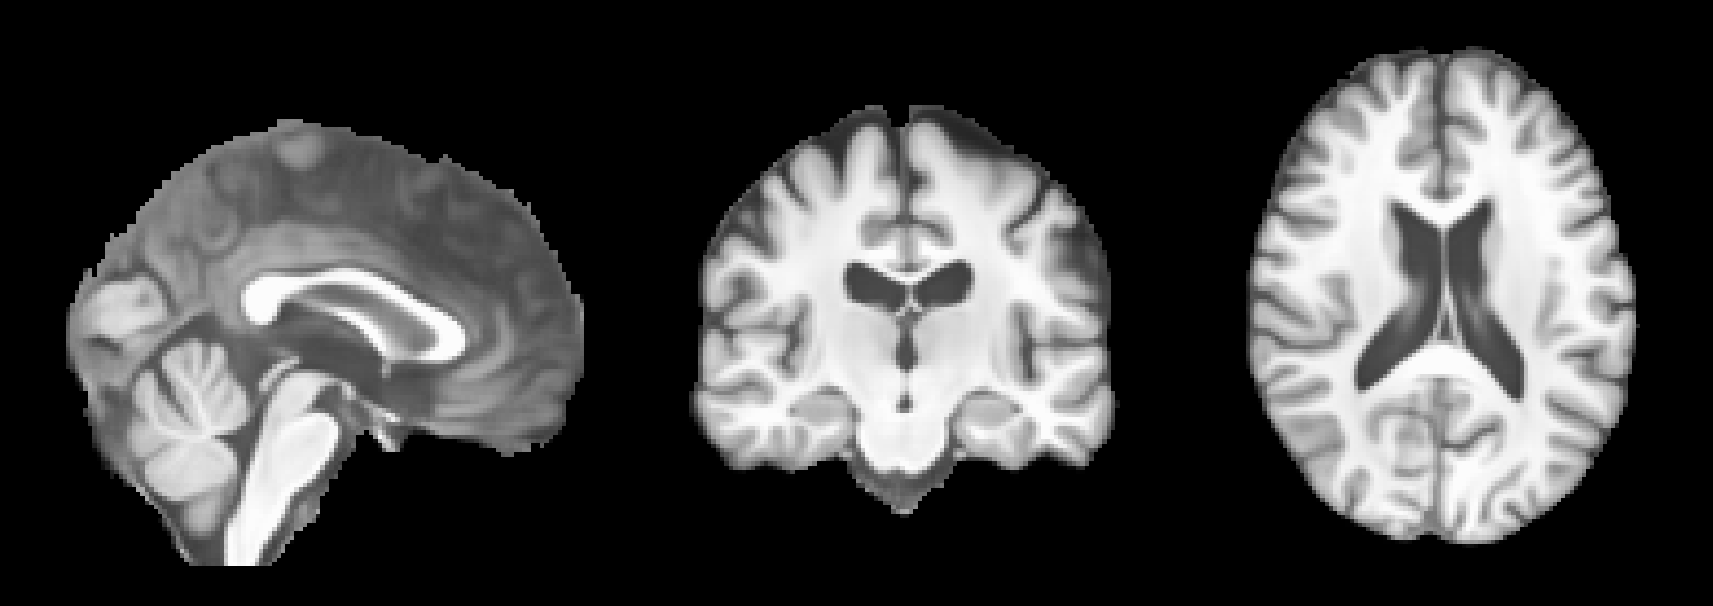
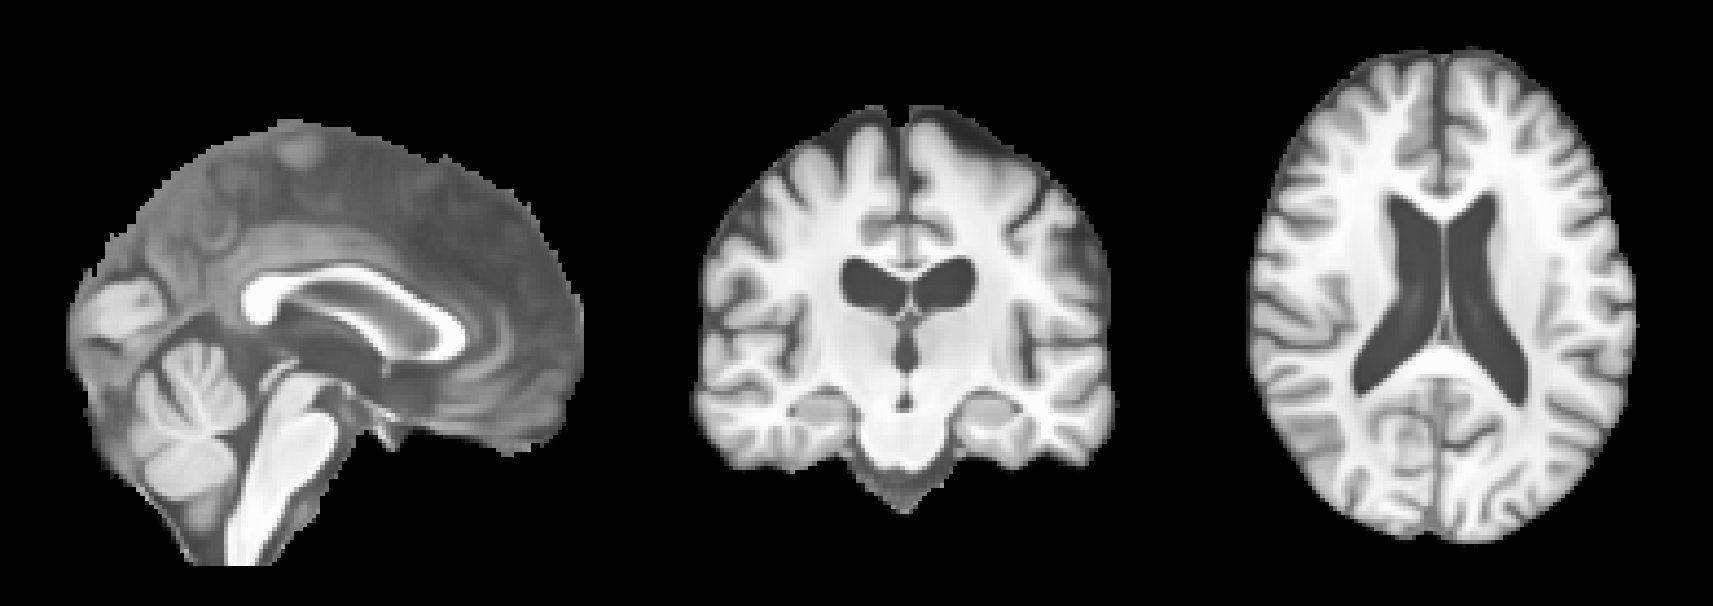
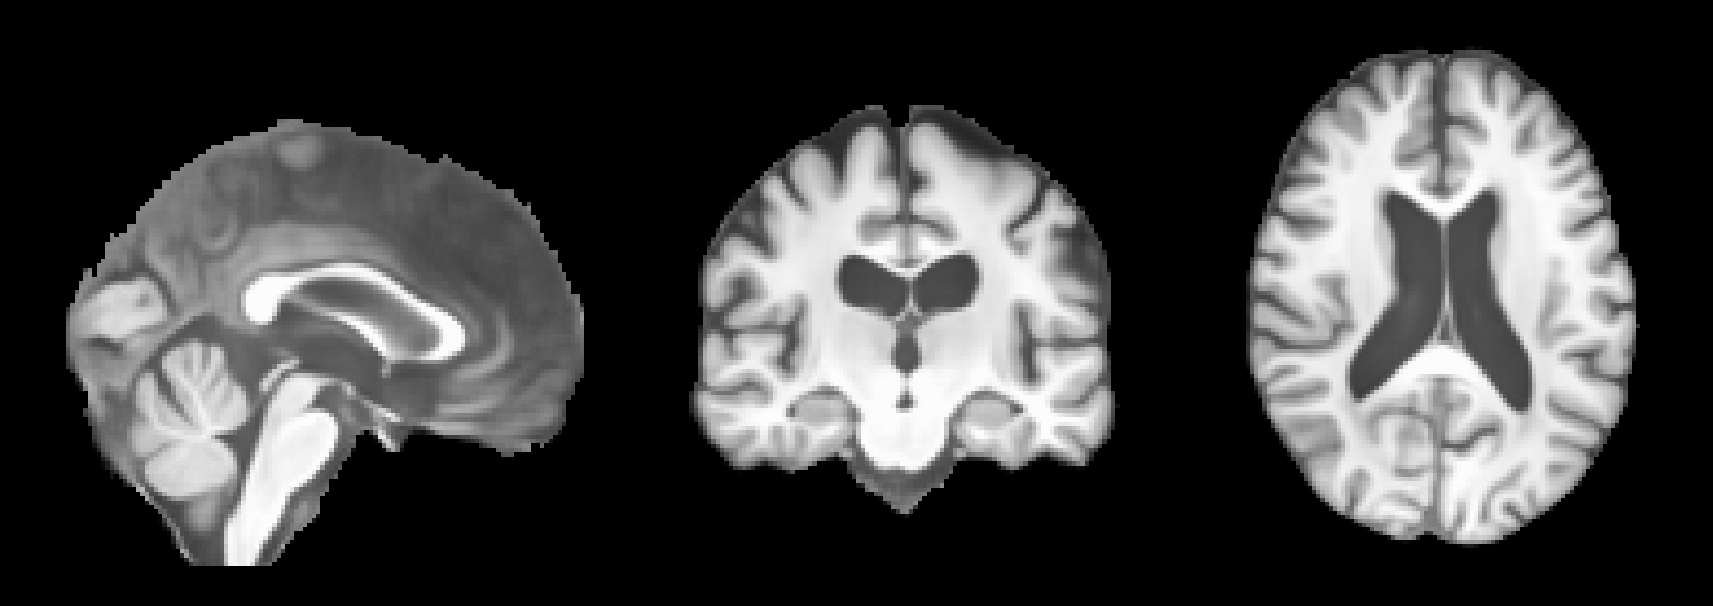
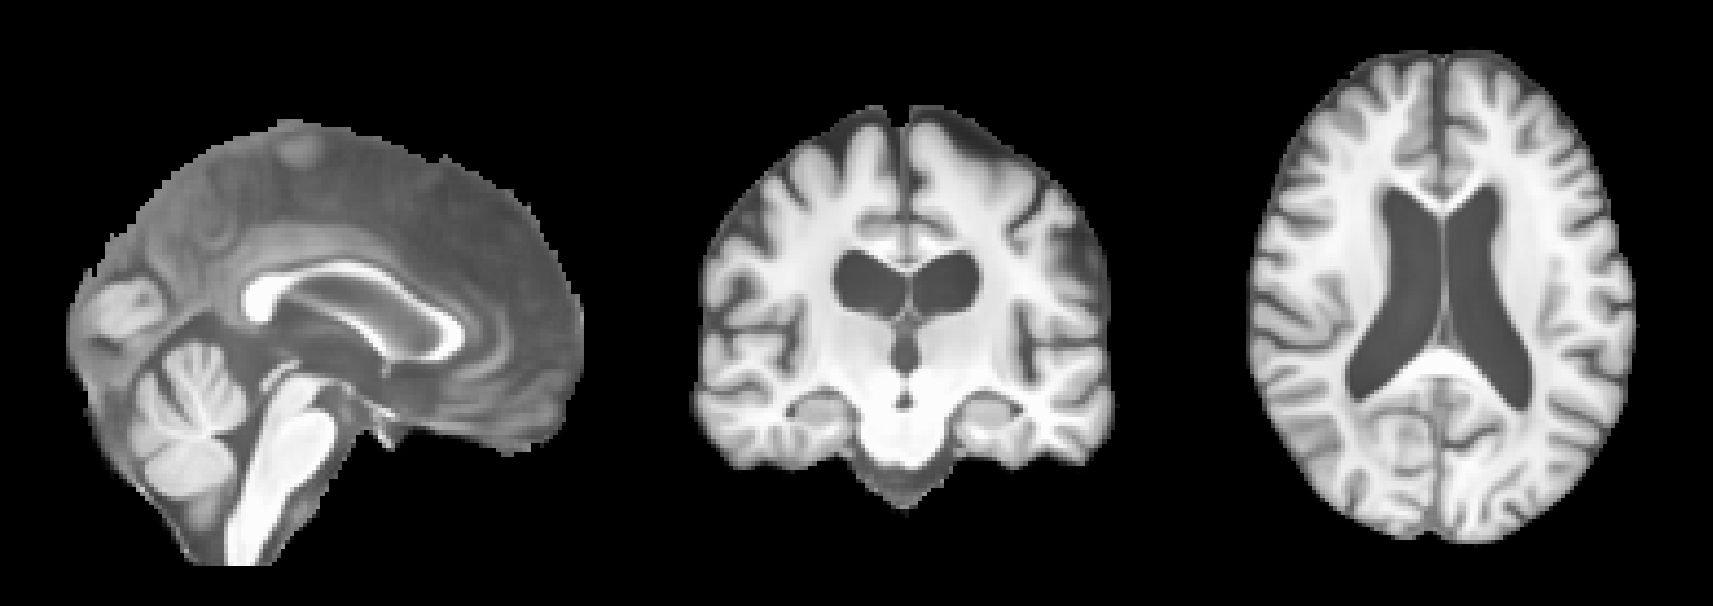
After running this command, the predicted MRIs will be saved in the predictions folder. You can visualize the predictions using an MRI viewer such as FSLeyes. Below are some example results from running the command:
